
9 Things to Know About Using Boom Cards™
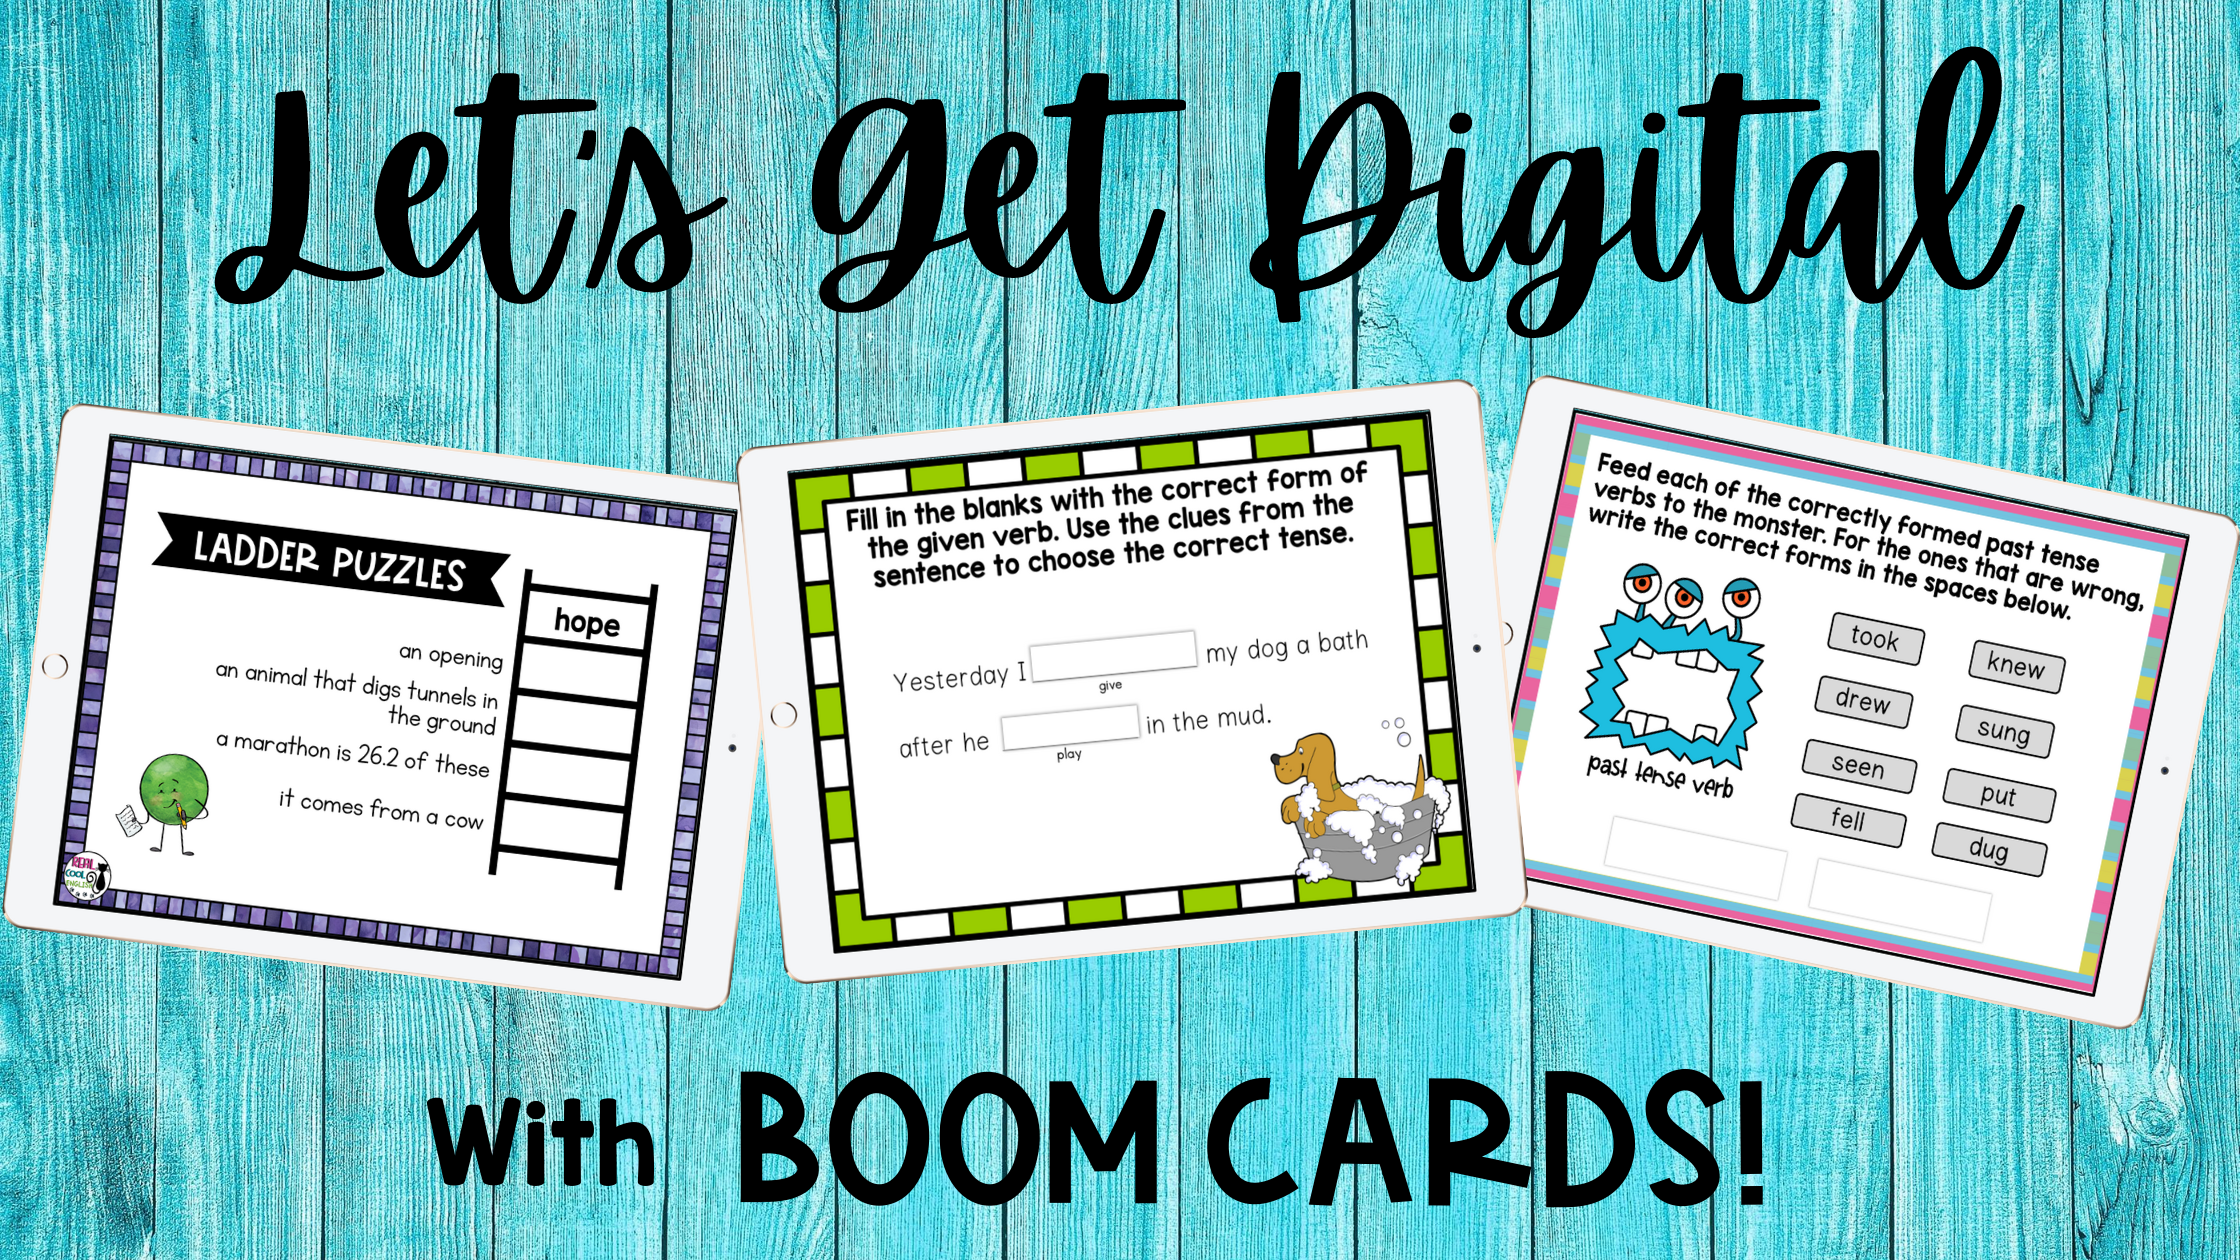
Now is the perfect time to get started with Boom Cards!
I have been a huge fan of Boom Cards ever since I discovered them about 4 years ago. I can say that I am a bit obsessed with them! Up until earlier this year, they were great for using in the classroom or assigning as fun homework activities to give students the extra practice they needed. Well, now that our classrooms look so much different, and we are all scrambling for ways to make our teaching compatible with distance learning, I love them even more! And at a time when we need flexibility the most, the best part is they are perfect whether you’re in an actual or virtual classroom. Here you can find all the tips you need to help you get started with Boom Cards in your classroom or for remote learning![spacer height=”10px”]
Take a look at these two videos of Boom Cards in action!
If you are new to Boom Cards or if you have heard of them but were confused about how they work, don’t worry, they are super easy (even for a non-techie person like me!)
One bit of lingo to know first: sets of Boom Cards to practice a particular concept are called “decks.” So when you hear about assigning decks, this means that the students are given a set of Boom Cards to practice. There is no set number of cards to a deck, but usually there are 20-40 cards in any given deck.
There are lots of things that you can do with Boom Cards, but don’t get intimidated by all the information out there. You can start out slowly and simply, and as you get more comfortable with them, you can explore the different features. With a little bit of information and a few basic steps, you can start using Boom Cards today!
Here are the things I think are important to know about Boom Cards in a nutshell:
1. Why I love Boom Cards (And So Will You!)
If you’ve ever used task cards or even assigned a worksheet, you know that there is some amount of prep work. Cards need to be laminated and cut; worksheets need to be printed and distributed. For either of these, you will need to review your students’ answers to check their understanding or to see which concepts they struggled with. With Boom Cards, all of that work is done for you. Within seconds, you assign the deck; no printing, copying, cutting, laminating, or checking answers involved! All of your Boom Cards are stored in your library forever, and you never have to go searching through boxes to find a particular set of task cards.
2. Why Students Love Boom Cards
We all know that students love technology, so just being able to use their tablets or computers to practice a concept will appeal to them. Boom Cards activities are a great way to mix things up a bit and get a break from other activities. Also, the nature of Boom Cards gamifies the learning experience, which of course adds to the appeal. Students like getting instant feedback to know if they got an answer correct or not. Another benefit of Boom Cards over traditional task cards or work sheets: because they are digital cards, they can have a much a more colorful and visually appealing format because you don’t have to worry about finding a color printer or using up all your color ink with a lot of graphics.
3. What You Need to Get Started Using Boom Cards
First, you will need to create an account on Boom Learning. (Note: whether you are a teacher creating an account for your class(es), or a parent creating an account just to work with your child, you would choose the TEACHER option.) You can start with a free account, and you will still be able to do a lot with it, but keep in mind that if you want to keep track of student progress, you will need to upgrade to a premium account. But being able to track their progress is one of the best features in Boom Learning, so you will probably want to opt for a paid version soon. Subscription fees are very reasonable, and there are a variety of options to suit your needs. You can find a chart with the different membership levels and fees HERE.
4. What You Need to Play a Deck
An internet connection on any modern browser is needed to play a deck, and they are compatible with multiple devices. You can find all the tech specifications and requirements HERE. I have had teachers ask if they can print the cards, and technically, you can, BUT they are not intended to be printed and used as traditional task cards, so the printing option is really more so that you can have a copy of the questions for your own files.
5. What You Can Do with Boom Cards
- Use in presentation mode to whole classroom (or even in a virtual classroom) to discuss and answer as a group.
- Quickly send a link for students to immediately begin working on a deck without having to log in. Progress will not be recorded, but often this is convenient for a quick individual or partner practice activity where you do not need to check their results.
- Use decks as practice activities, which allows for multiple attempts until the students have mastered the concept, or set them up as a quiz so students only have one attempt. (Available with premium accounts)
- Differentiate activities, so that specific decks are assigned to certain classrooms or students. If you find that a student is struggling with a specific concept, you can quickly assign a relevant deck to that student. (Ability to set up classrooms with multiple students available with premium accounts).
- Practice a wide variety of academic topics and use with students of all ages. You will find that there are many more resources available for younger kids, but resources in my Boom Learning store are mostly for upper elementary or adult ESL, and they work well with students of all ages. I mean, who doesn’t love gamified learning?
Types of Tasks You Can Find in Boom decks
- Multiple choice: See example in my FREE deck on Apostrophe Use and Halloween Subject-Verb Agreement.
- Fill in the blank: See example in my deck on Past Tense Irregular Verbs and Regular and Irregular Plural Nouns.
- Drag and drop: See example in my deck on Halloween Homophones and Christmas Homophones.
- Combination of 2 or more types: See Proofreading and Editing Practice and Action, Helping, and Linking Verbs.
- There are even more complex decks with hints if students are not able to correctly answer the question. See example in my deck Christmas Homonyms.
- And there are so many others with even more fun and engaging activities such as escape rooms!
6. How to get decks
There are two main ways to get decks: directly through Boom Learning or through Teachers Pay Teachers.
If you are used to TpT, you might find it easier to find resources there, but there will be an extra (easy) step to redeem your purchase and get the decks into your library. If you don’t have a TpT account, you might prefer to get your decks directly through Boom Learning using their points system (described in the next section).
However you get your decks, search for free items and get a couple free decks so you can practice with them and see how they work. You can get started with my free deck on Apostrophe Use HERE. Your purchased decks or free ones you have selected will now appear in your library.
Note that you can preview (and try out!) the first four cards of any deck on Boom Learning to see if they are a good fit before purchasing.
7. Purchasing points on Boom Learning
Prices of decks on Boom Learning are listed in points rather than in a dollar amount. To buy decks from Boom Learning, you will first need to purchase points. The more points you buy, the bigger the discount. If you buy points in bulk, the (approximate) cost is 1 point = 1 cent. So if a deck is 250 points, then you are paying about $2.50 if you buy the points in bulk; a little more if you purchase a smaller number of points. You can find the breakdown of the point system at the bottom of the page HERE.
8. How to Assign Decks to Your Students
Once you have collected a few decks in your library, you can start using or sharing them with your students right away. The easiest and fastest way is to use the FAST PIN option. From your library, you will see all your created and purchased decks. Find the one you want to assign, and click the arrow on the upper right corner. From the dropdown menu, choose FAST PIN. It will prompt you to create a pin to share with your students. You will have two options for sharing it, but either way, the pin will only be available for 5 days (with a free account) or 14 days (with a premium account). Also, this will not keep records of your students’ progress, but as discussed above, this is perfect when you are just starting out, or when you want to assign something quickly without the need for a report. If you do want to keep track of their progress, you will need to set up a classroom.
Here is a helpful video about the Boom Library, with step-by-step instructions on how to share a deck using a Fast Pin or to assign a deck through the Classroom. It also includes instructions for assigning a deck for practice vs. as a quiz and it also explains how to use the reports to monitor your students’ progress.
9. How to Set Up Your Classroom
To take advantage of all the Boom tools for keeping track of your students and assignments and viewing the data about their progress, you will need to set up your classroom. Here, you will set up your teacher profile, enter class information, add students, and create passwords for your class. You can assign a deck for the whole class, or you can choose different decks for different students. Rather than try to explain everything here, Boom Learning has a very helpful video that will take you step-by-step through the process of setting up your classroom. If you want to use Boom through Google Classroom, there is another video that will guide you through that process as well.
Recap of the most important takeaways:
- Boom Cards are digital decks that are not intended to be printed and used as traditional task cards. Internet connection and modern browser required. See tech specs HERE.
- Ready to get started with Boom Cards? You will need an account to use them, but you can start with a free account and use Fast Pins. Premium accounts are very reasonably priced and will allow you to do much more, such as keep track of your students’ progress. Set up your free account HERE and grab your free resource HERE.
- Very helpful videos from Boom:
- Find a wide variety of decks for upper elementary and ESL concepts in my Boom Learning store HERE.
I hope this information will help you take the plunge with Boom Cards because I’m sure that you will love them as much as I do! Just remember that if it seems overwhelming you can take it step by step; you don’t have to use all the features on day one. You can get started with Boom Cards for free, so you risk nothing, except possibly getting addicted to them like I have!
If you are teaching virtually and are looking for even more fun activities for your class, try these 5 Fun Games That Will Spice Up Your Virtual Lessons
I specialize in upper elementary ELA and Adult ESL. Check out some of my most popular Boom Card Decks:
Word Ladder Puzzles Boom Cards™
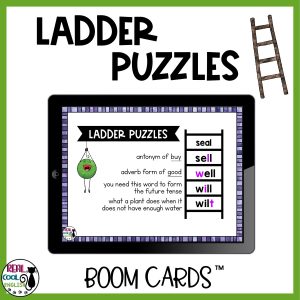
With this deck of mini ladder puzzles, students give answers to clues and definitions, changing one letter at a time as they go down or up the ladder until all spaces are filled. This is a fun activity to practice vocabulary and spelling.
Commonly Confused Words Boom Cards™
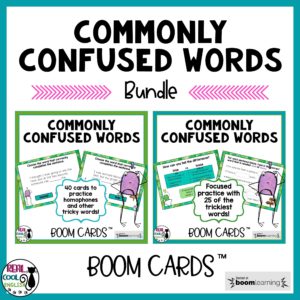
This is a set of two decks to practice homophones and other words that are commonly confused (such as lose and loose). These tackle the trickiest words that are often misused, even by adults!
Past Tense Irregular Verbs Boom Cards™
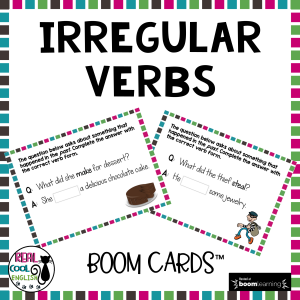
Past Tense Irregular Verbs Boom CardsTM
This deck will help students practice using the past tense forms of verbs. They are given a question, and they need to complete the answer with the past tense form of the given verb.
Run-On Sentences Boom Cards™
This deck will help students identify fused sentences and comma splices and give them practice correcting them.
Grammar and Language Boom Card Endless Bundle

For the best value, grab my Grammar and Language Boom Cards Endless Bundle! This is a collection of all my present and future ELA Boom Cards at a fantastic savings. The price increases with each new resource added, so grab it early for the biggest savings!
Is there any way the teacher and the student can interact with the Boom card at the same time? When I send my student a fast pin, only he/she can then play with the card. I’d like to be able to play the game along with them.
Hi Lori! That’s a good question, and I don’t know that there is a way to do that. The way I have worked around it in the past is to do a screen share with my students and then have them tell me the answers for me to type in. Of course, this wouldn’t work with all types of decks. I will look into that, and if I find out about some other way to do it as you describe, I’ll let you know. Thanks!
Hello!! So I just started using boom cards this year. So far I am a big fan! I think they are so fun and engaging for the kiddos, yet give me good real time feedback on how they are doing. I did have a question that I thought maybe you would know. My kiddos like to see what level they are at on things. When I click on a student, I can see the ribbon for cards and decks. Do you know what they stand for and how they get points for these? I thought it was simple, but some kiddos who are doing great on all of their boom cards are not really gaining any levels while others are. Thanks!!